Measuring the Light Intensity of the Ember Printer : 4 Steps (with Pictures) - Instructables
Measuring the Light Intensity of the Ember Printer: The first step to successful printing with the Ember printer is measuring the light intensity. One can start printing without checking the light intensity (particularly with the Autodesk CMYKW resins), but your chance of success is much higher if th…

How to Configure Ember for High Speed 3D Printing : 3 Steps (with Pictures) - Instructables
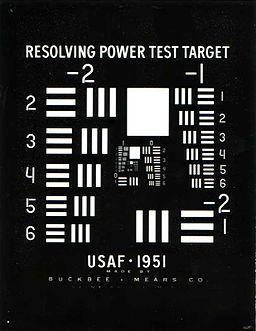
Ember Printer: Measuring Horizontal Resolution : 7 Steps - Instructables

How to Take a Working Curve Measurement and Create Exposure Settings From It : 9 Steps (with Pictures) - Instructables

Measuring the Light Intensity of the Ember Printer : 4 Steps (with Pictures) - Instructables

SLA/DLP Basics : 5 Steps - Instructables

Window Clouding in the Ember Printer : 11 Steps (with Pictures) - Instructables

Measuring the Light Intensity of the Ember Printer : 4 Steps (with Pictures) - Instructables

Ember Printer: Measuring Horizontal Resolution : 7 Steps - Instructables

SLA/DLP Basics : 5 Steps - Instructables

Printing on the Ember : 12 Steps - Instructables

How to Tune Ember's Print Settings for New Resins : 10 Steps - Instructables

Measuring the Light Intensity of the Ember Printer : 4 Steps (with Pictures) - Instructables

How to Configure Ember for High Speed 3D Printing : 3 Steps (with Pictures) - Instructables

Ember 3D Printer from Autodesk

Measuring the Light Output of the Form1+ : 4 Steps - Instructables