
Watercolor Tutorial: Moon Phases Illustration
Hello and welcome back to the Archer and Olive blog. It's Nabaa from @whimsicial.doodles! For today's post, I have some watercolor fun planned out :) Lately, one of my favorite things to paint has been the moon. I doodle them all across my journal. So today, we're working on a Moon Phase Illustration! Here's what you'l
Hello and welcome back to the Archer and Olive blog. It's Nabaa from @whimsicial.doodles! For today's post, I have some watercolor fun planned out :)
Lately, one of my favorite things to paint has been the moon. I doodle them all across my journal. So today, we're working on a Moon Phase Illustration!
Here's what you'll need to create this illustration:
Archer and Olive Watercolour Notebook
Helix Circle Maker
Blue Watercolours - I used Prussian Blue and Payne's Grey
Kuretake Gold Watercolour
Watercolor paintbrush
Pencil and Eraser
If you haven't checked out the watercolor range of notebooks by Archer and Olive, you're missing out! They are extremely easy to work with - the paper is able to handle a ton of water without warping. Check them out here!
Check out the video tutorial here:
Read on for the text version of this tutorial:
For this illustration, I wanted to create 3 moons - a full moon and 2 crescents. So to start off, I divided the page and set up a layout:
Next, draw in your moon shapes. I did this using my circle maker but you can use anything that makes it easy.
Draw in your shapes and then using a bit more pressure, go over the shapes so as to create a slight dent along the lines. This will help you make out the shapes even after you color on the page. (At this point I also realized my moon shape was off so I went ahead and changed the third moon)
Before the next step, I taped the edges of the paper using washi tape for a clean edge. Now we paint! I'm using the wet on wet technique to get a nice even flow of color. Go over the page using a large wet brush. Don't worry about getting the page too wet - this paper can totally handle it! Once the page is wet, start adding in your watercolor, going over the whole page.
Let the page slightly before adding in another layer - I did a total of 3 layers.
Now we're going to lift the pigment from the moons. To do this, using a lightly wet brush, start wetting the surface of the moon shapes - then grab a piece of tissue paper and blot to lift the pigment, leaving behind white paper.
Do this with all 3 shapes until they're relatively clear of the blue.
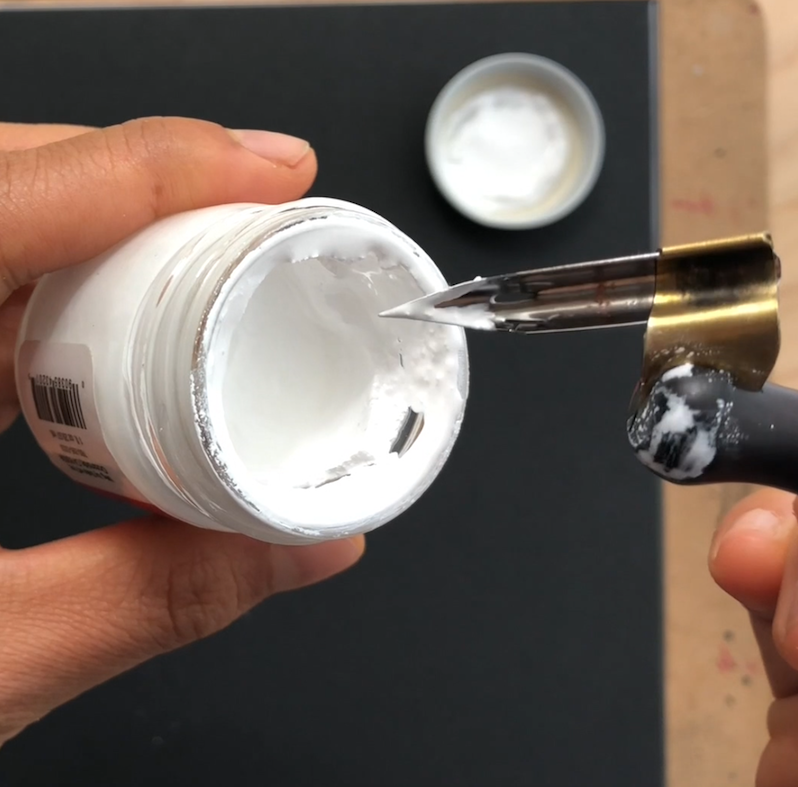
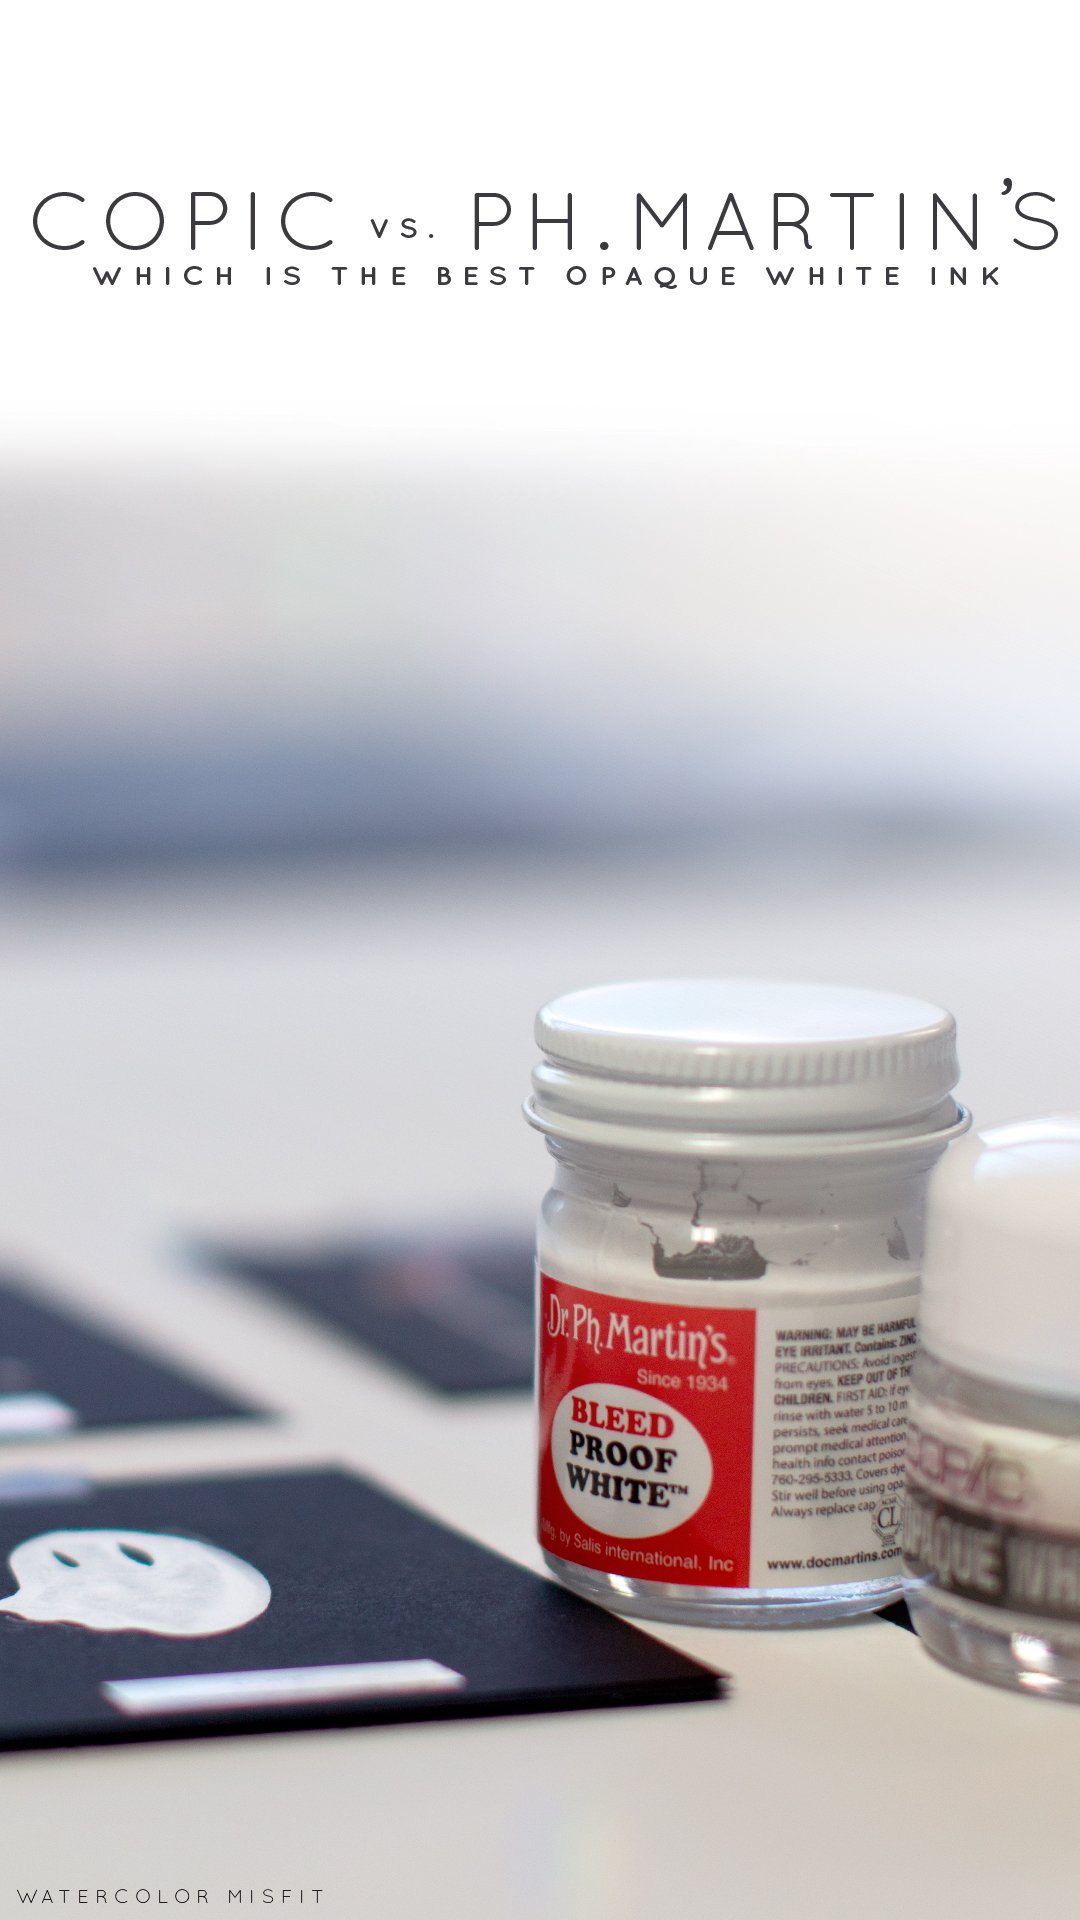
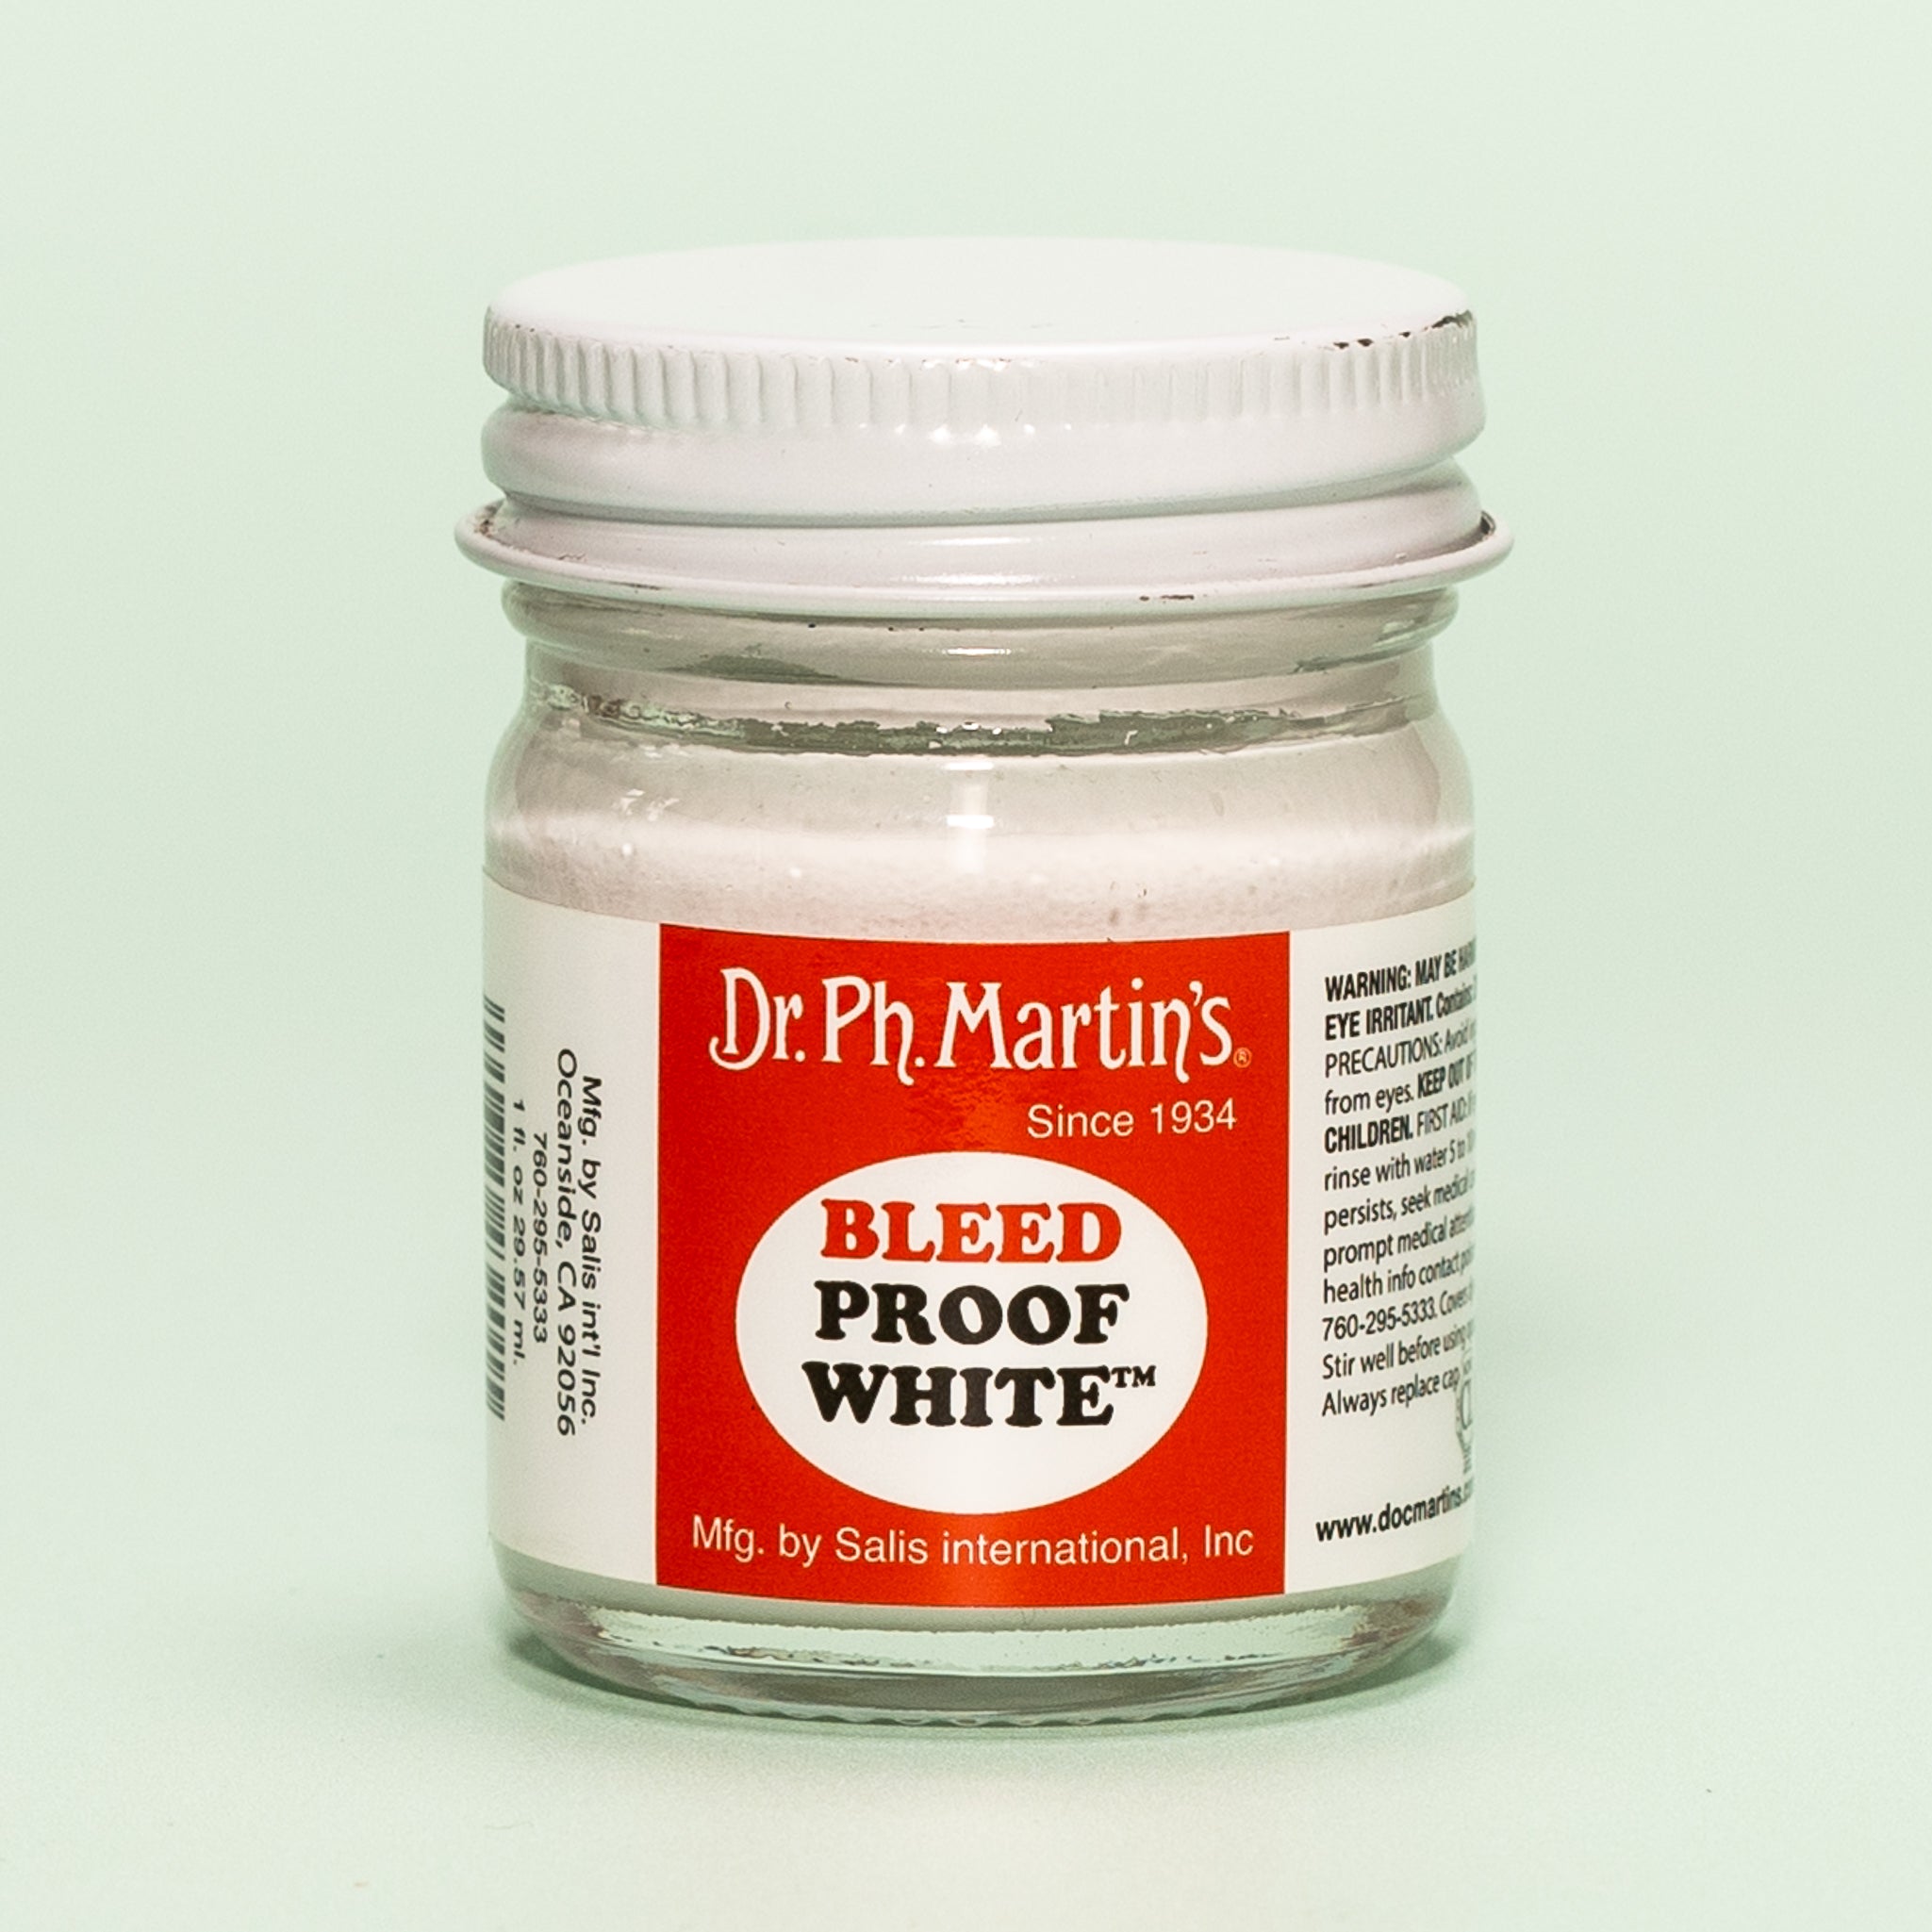
For a clean look, I went over the edges of the moons with some white ink. (I used Dr. Ph. Martin's Bleedproof White). You could use thinned out white acrylic paint instead! Using the same ink (or white acrylic) and a paintbrush, splatter on stars And finally, I added in some gold for the sparkle! Simply add in a few streaks on top of the moons using gold watercolor paint!
And you're done! If you recreate this or were inspired to create your own take, I'd love to see so tag me @whimsical.doodles and @archerandolive! :)
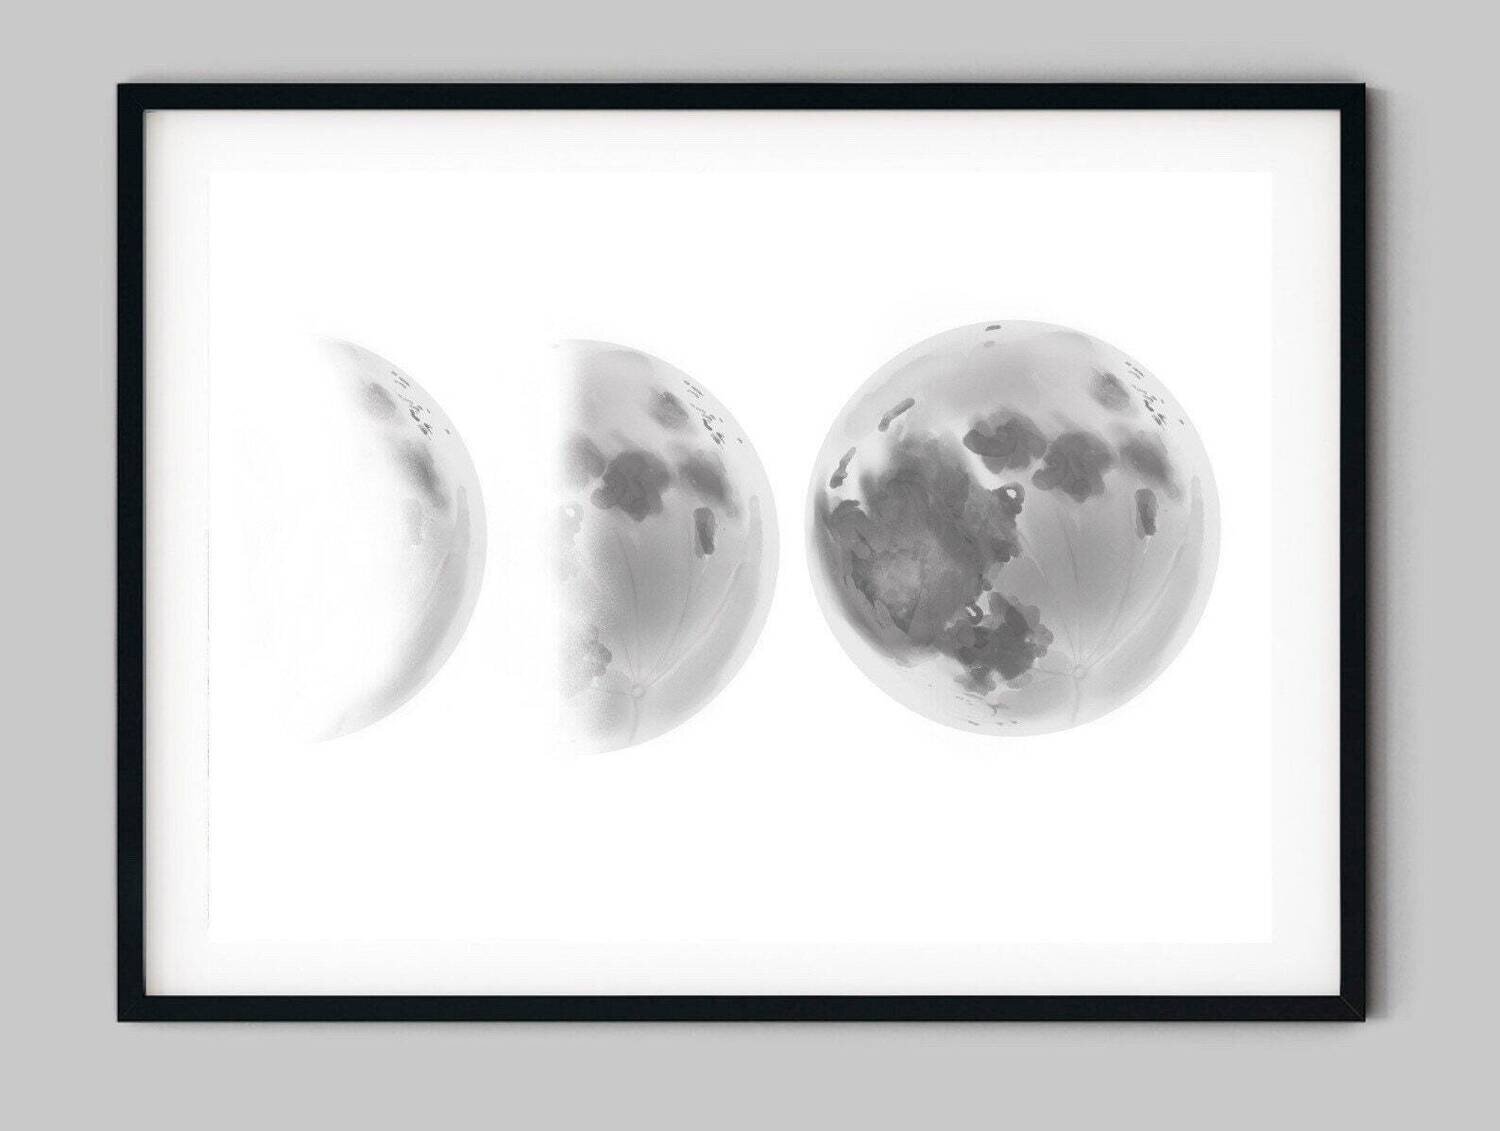
Moon Phase Illustration Digital Print- Wall Art – Creativart Studio – Colored Pencils Art – Watercolor Painting

Paint With Me the Moon with Watercolors How to deal with Perfectionism as an Artist

Watercolor Moon Phases

EASY Watercolor Moon Tutorial Watercolor Night Sky

Watercolor Moon Phases Clipart 8 PNG Graphic by Art and Funny · Creative Fabrica

1,054 Moon Phases Pink Images, Stock Photos, 3D objects, & Vectors

Watercolor Moon Phases. Hand Painted Various Phases Isolated On White Background. Hand Drawn Modern Space Design For Print. Stock Photo, Picture and Royalty Free Image. Image 114631184.

Watercolor Tutorial: Moon Phases Illustration

Easy Watercolor Tutorial: Rainbow Moon Phases
Saatchi Art is pleased to offer the painting, Moon Phases, by Stephanie Dashiell, available for purchase at $345 USD. Original Painting: Acrylic on
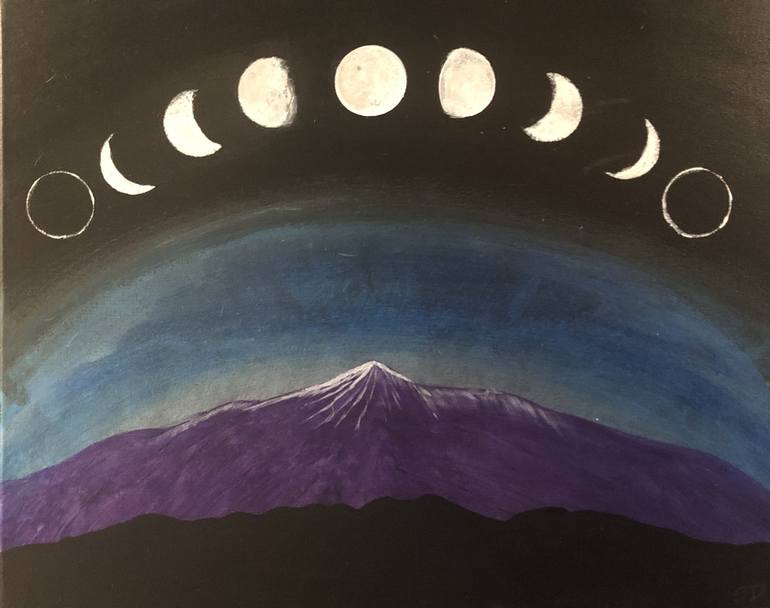
Moon Phases



:strip_icc()/wreath-green-leaves-plaid-ribbon-ebabad4a-dcc50f9312d1401c8370c70d9b417f5c.jpg)