Tutorial: How to sashiko stitch, part 1, transferring your sashiko des - A Threaded Needle
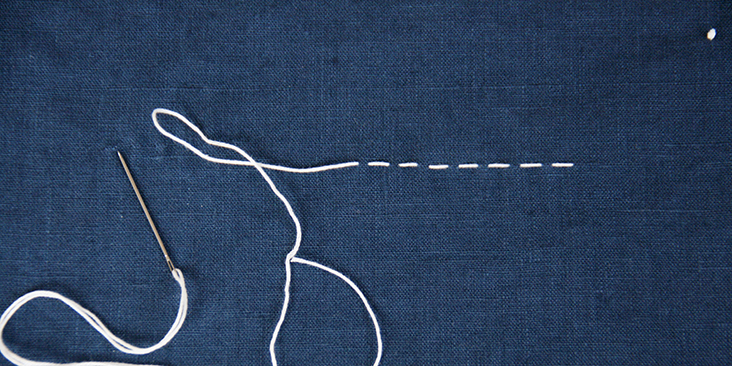
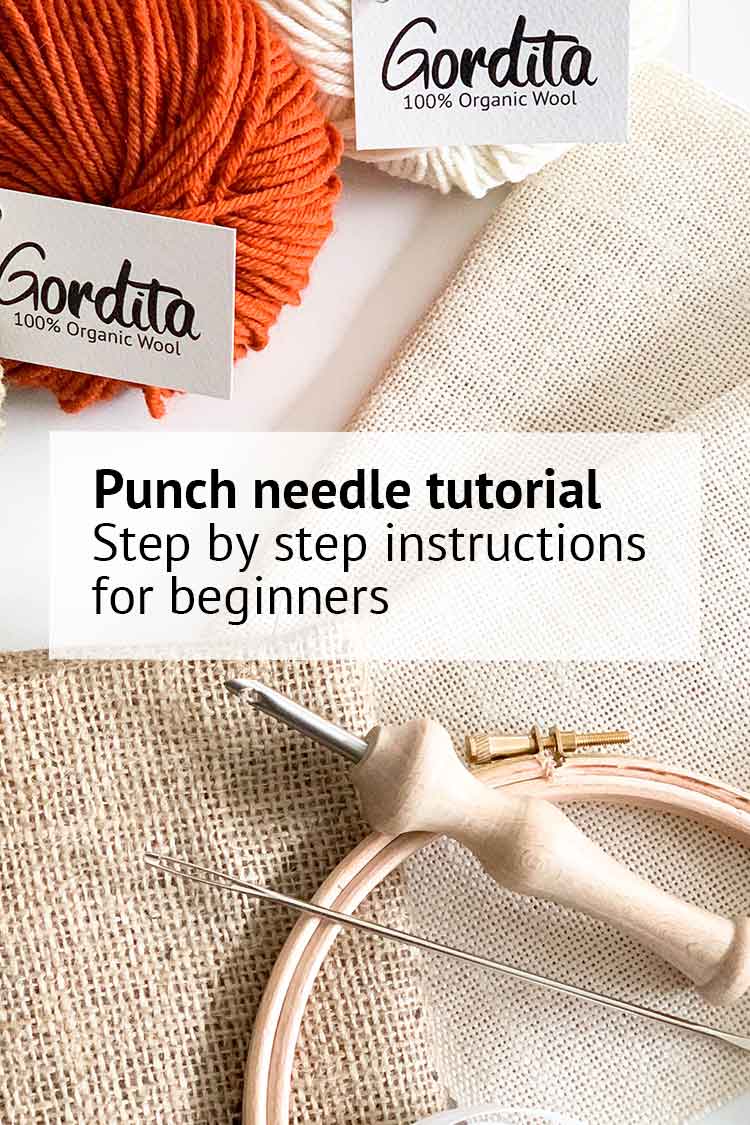
There are 4 parts to this tutorial. In an effort to make it easier to find these parts I'm putting the links for all 4 here, plus a link for if you are starting stitching with a pre-printed (wash out) Sashiko design. Part 2. Part 3. Part 4. Stitching pre-prints This is part 1 The first thing you need to do is to transfer a Sashiko design to a fabric. Gather your supplies. For Sashiko this is a pretty short list. Sashiko needle and Sashiko thread, a Sashiko design, some cotton or cotton/linen fabric, and for transferring the design, some featherweight fusible non woven white interfacing and a permanent ink fine tip pen. You can find all of this on this website. (You can buy a digital pdf of this pattern here if you would like to use this design) Before you
Yes! You CAN Make A Loom Knit Sweater! GoodKnit Kisses, 48% OFF
Sashiko Embroidery Technique Tutorial – the thread

Tutorial: How to Sashiko Stitch, Part 2, beginning without a knot, dec - A Threaded Needle

Is Sashiko Art? The origin of Sashiko as Folk Art - Upcycle Stitches

How to thread a sashiko needle with sashiko thread - A Threaded Needle

Tutorial: How to Sashiko Stitch, part 3, order of stitching, carrying - A Threaded Needle

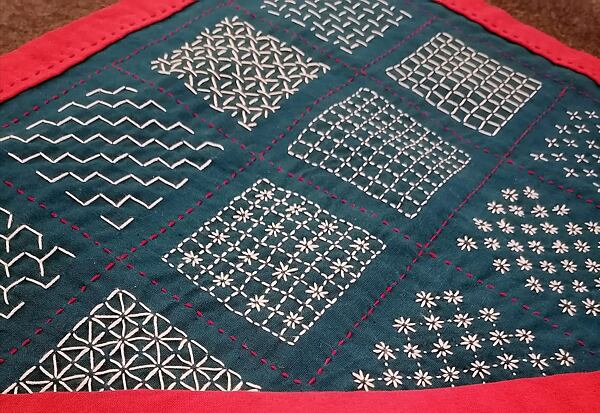
Sashiko patterns PDF with instructions - Studio Koekoek
Every 2023 Color Of The Year We Know So Far, 55% OFF
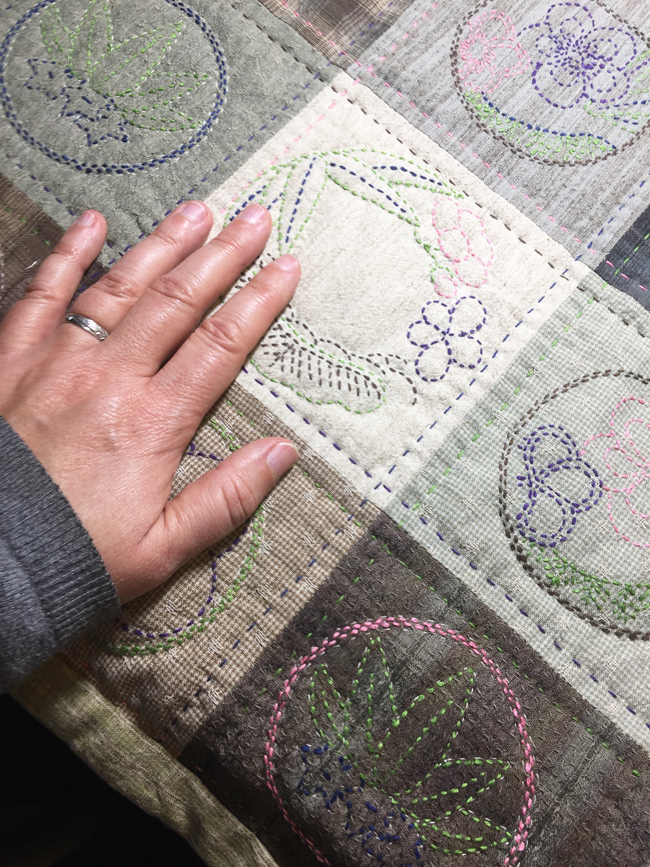
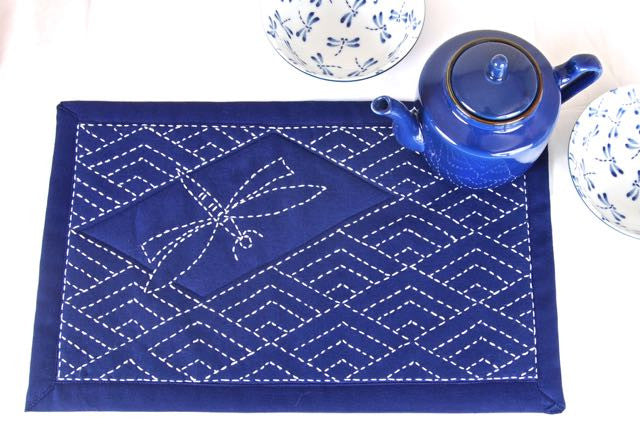
Quilting with Sashiko – A love for both the common fiber and the extraordinary textile @KimonoMomo

Tutorial: How to Sashiko Stitch, Part 2, beginning without a knot, dec - A Threaded Needle

5 Ways to transfer a Sashiko design onto fabric (5 of 5 featherweight - A Threaded Needle

How to use disolvable sashiko transfers
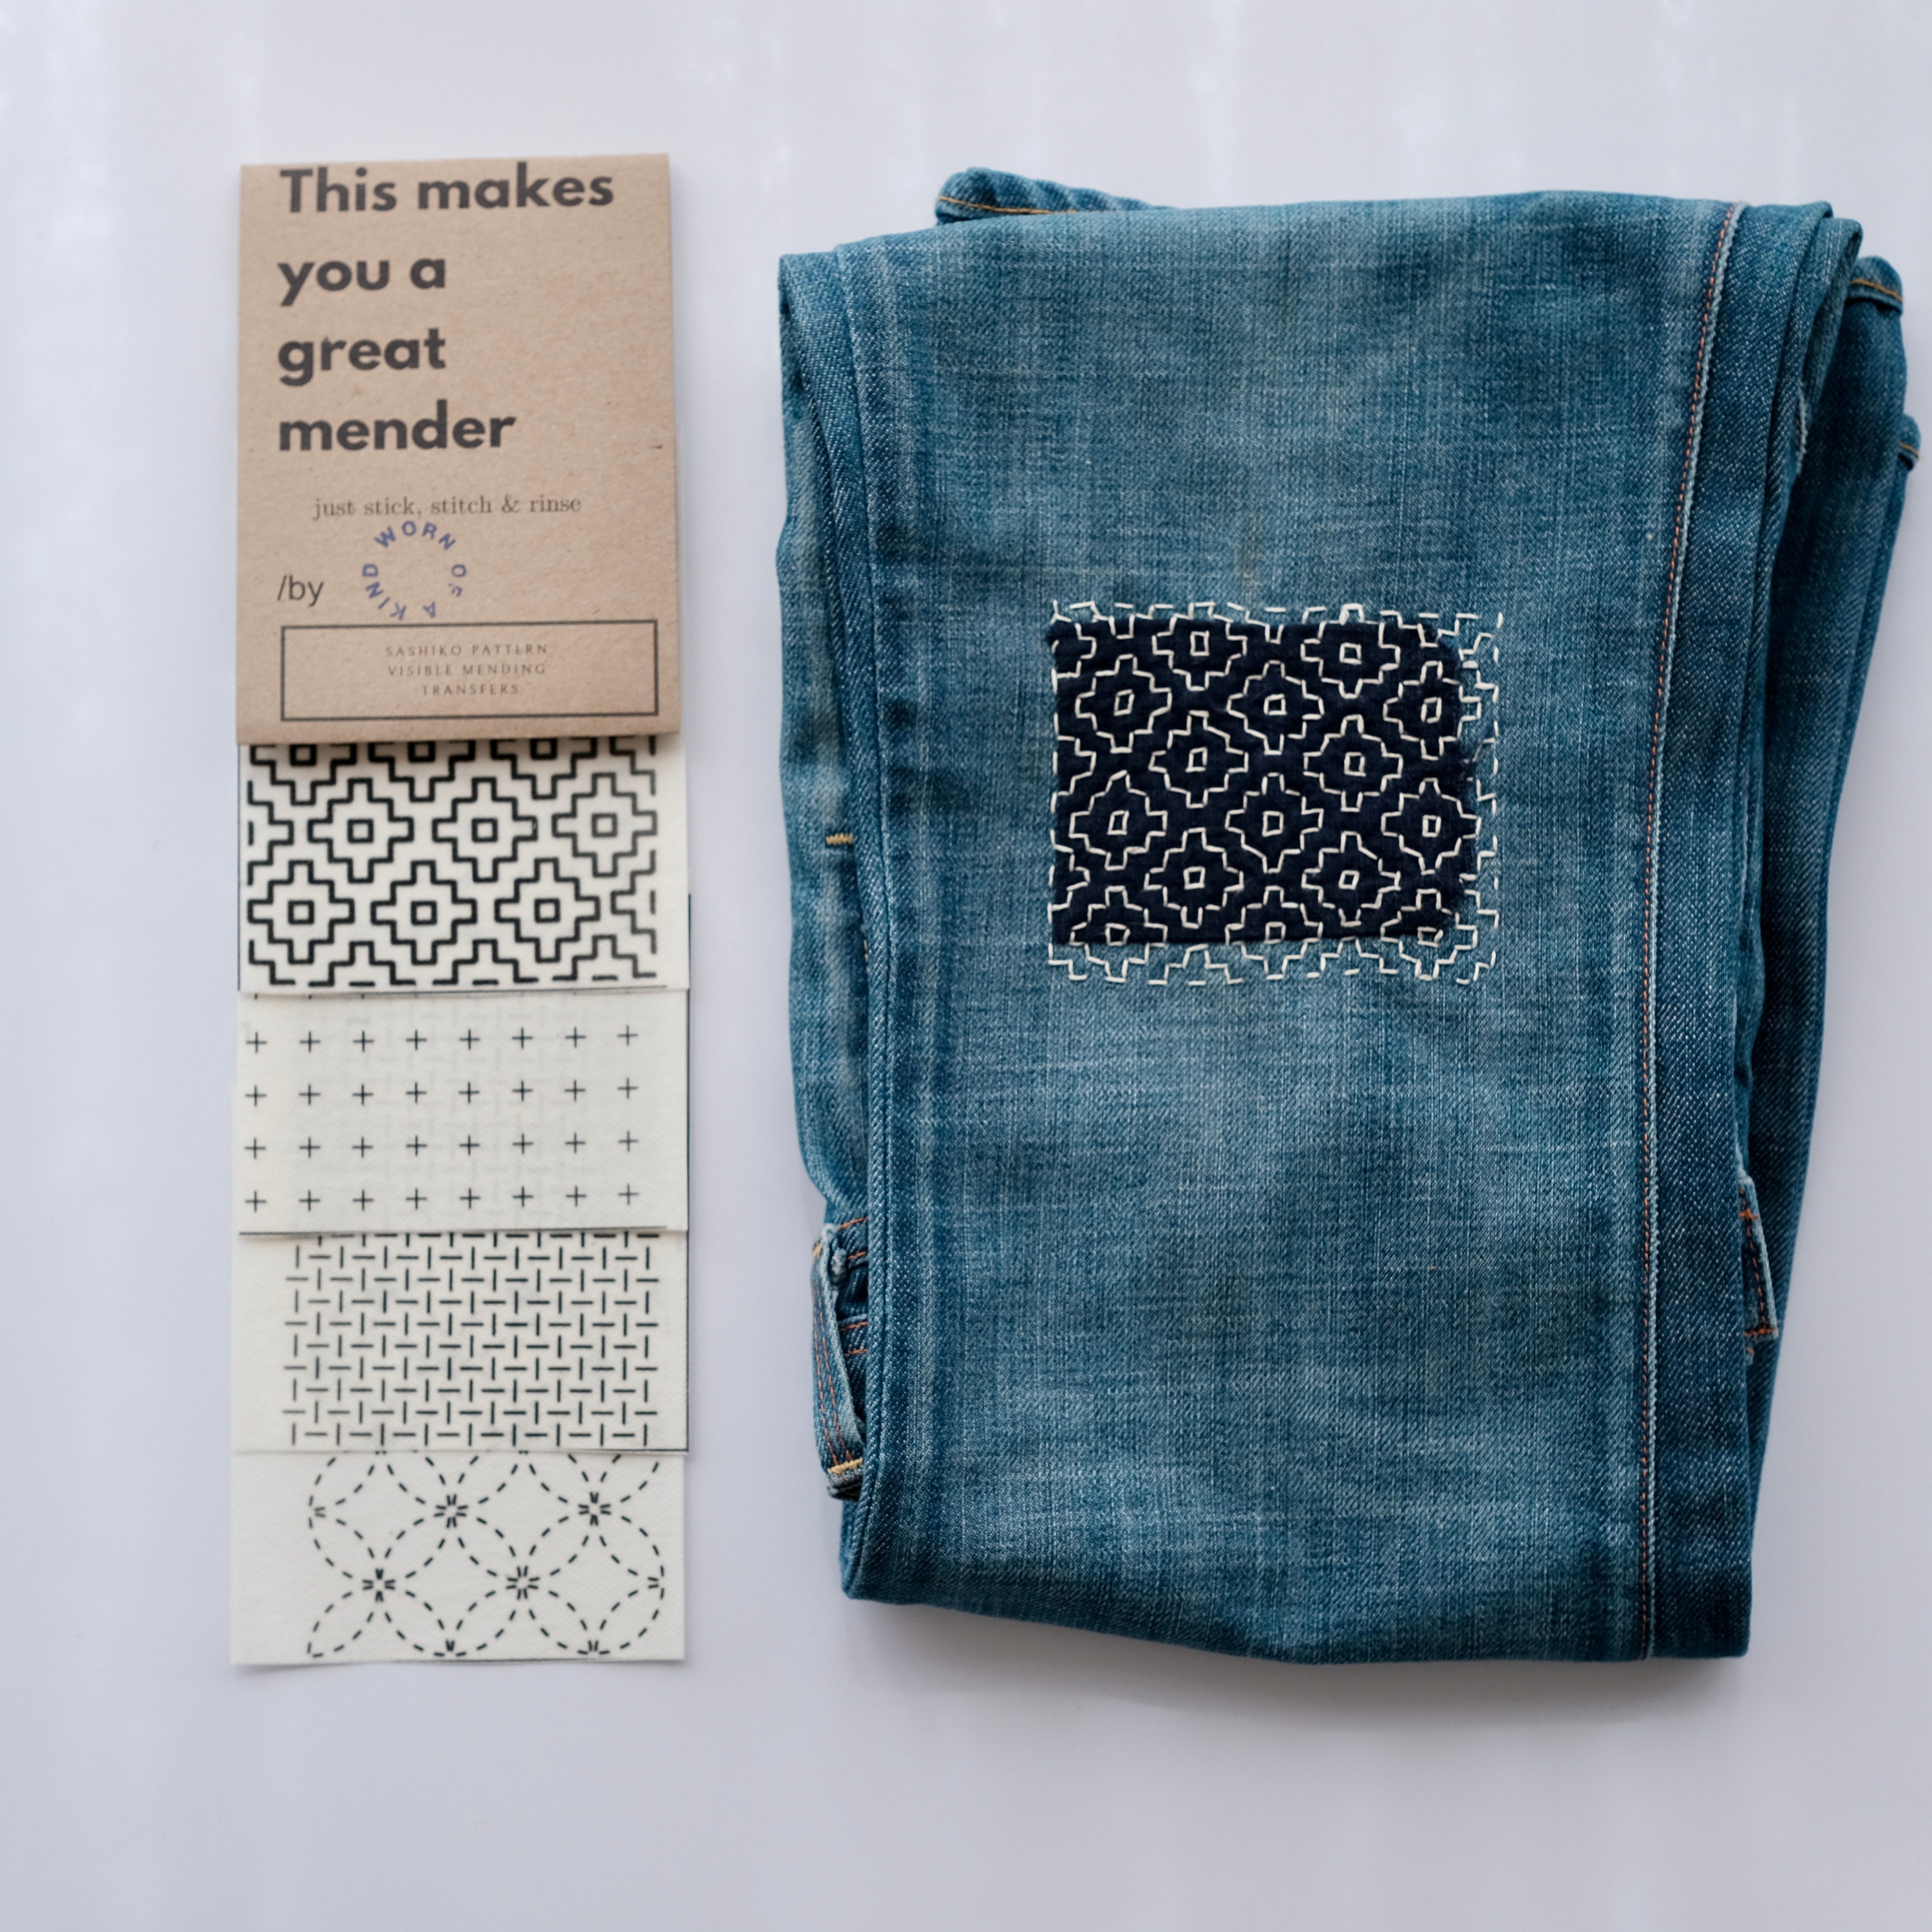
Visible Mending Transfer Sashiko Pattern Stick Stitch Embroidery Sticker Japanese Embroidery Kit Hand Embroidery Pattern Jean Repair Kit
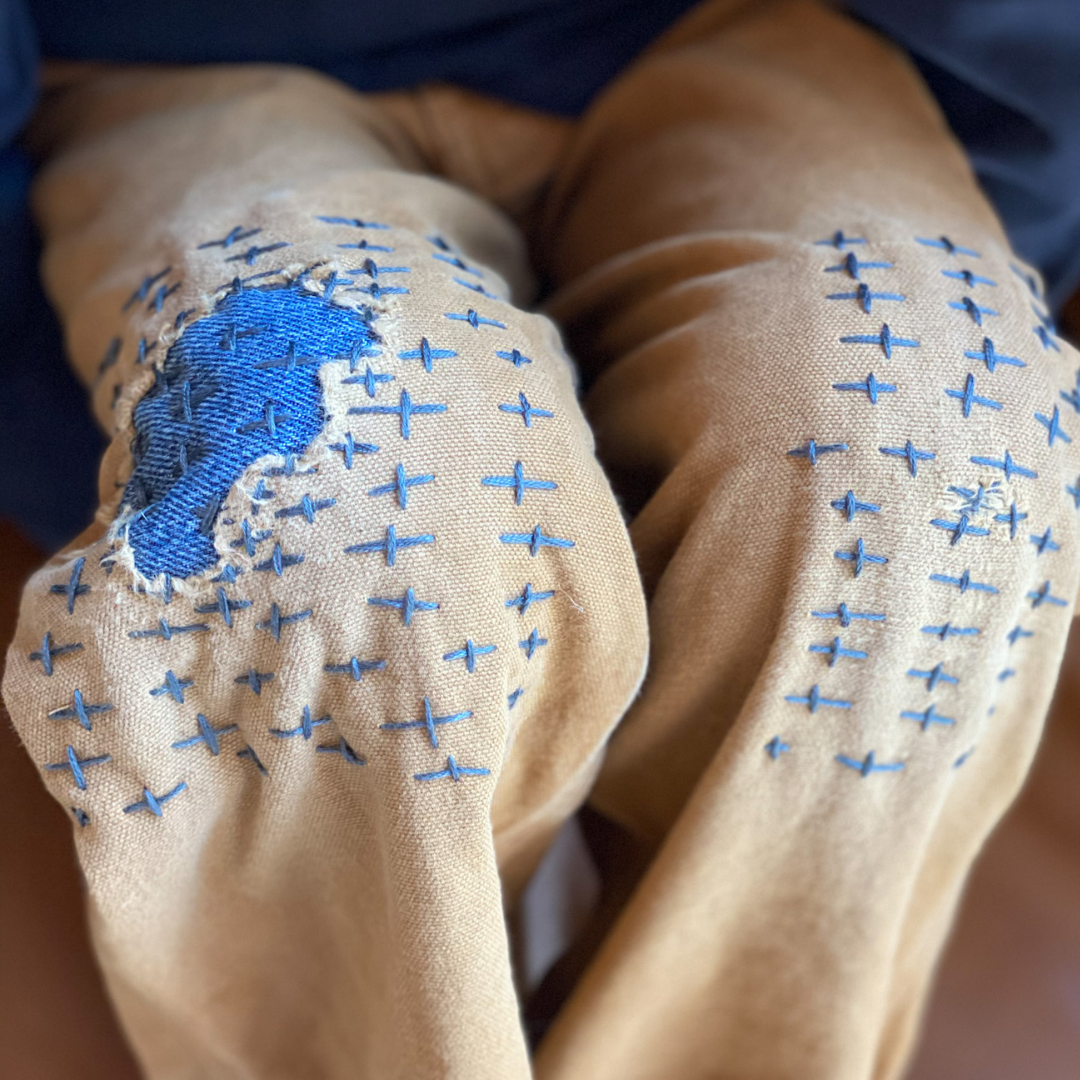
Sashiko stitching, the Japanese mending technique - SARTOR BOHEMIA
How to Sashiko stitch for beginners
.jpg?twic=v1/resize=375)