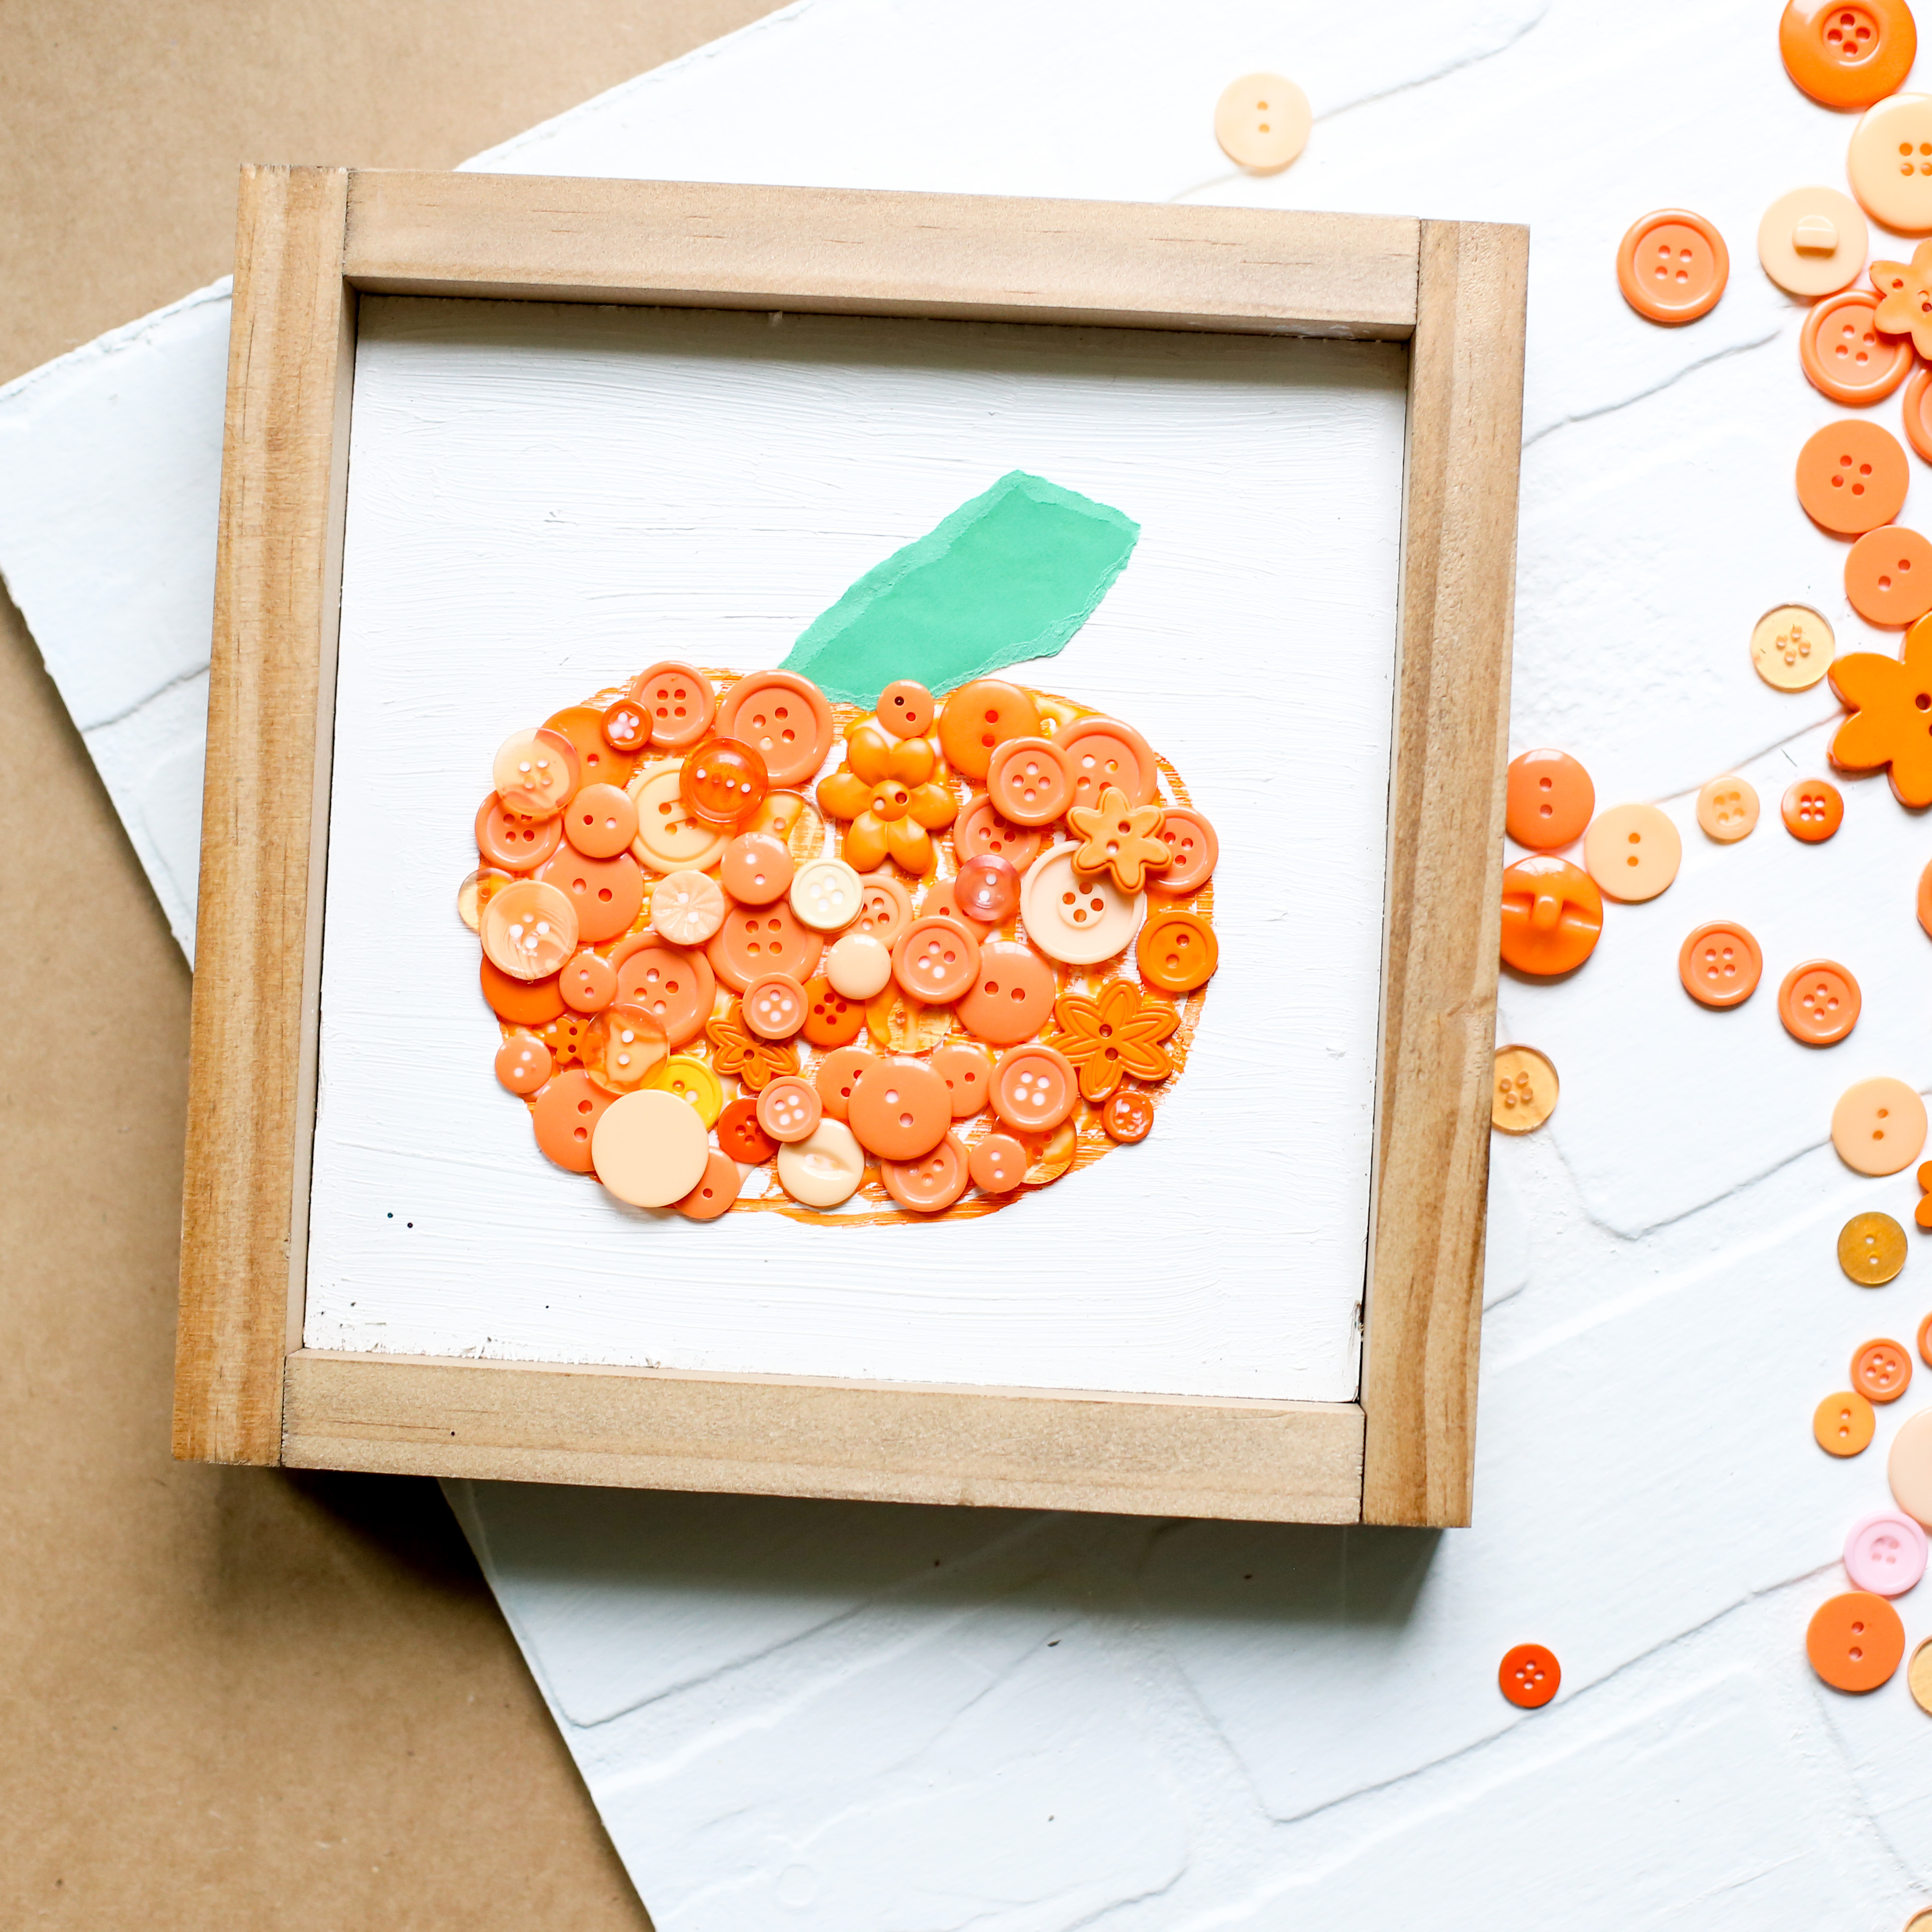
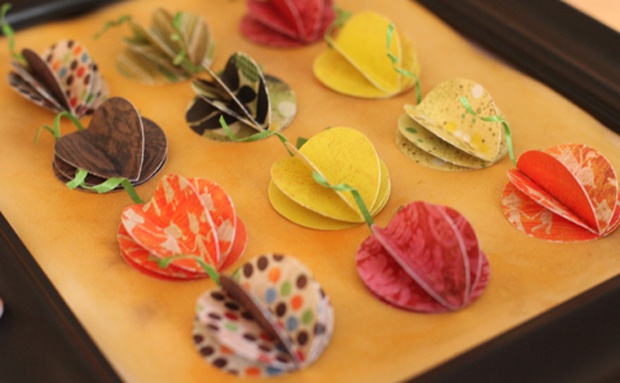
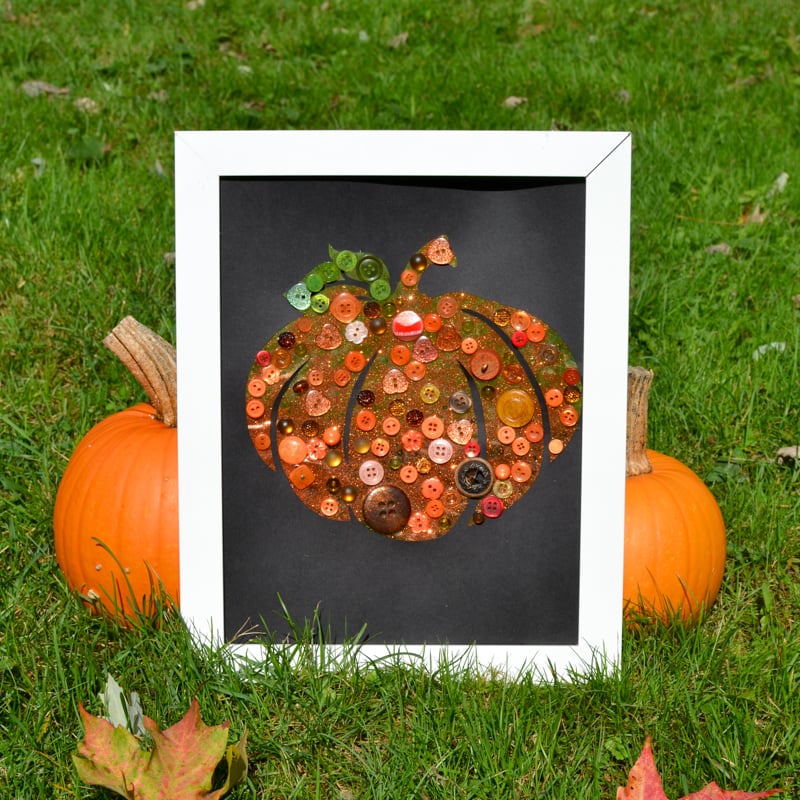
Kids Craft: Button Pumpkin
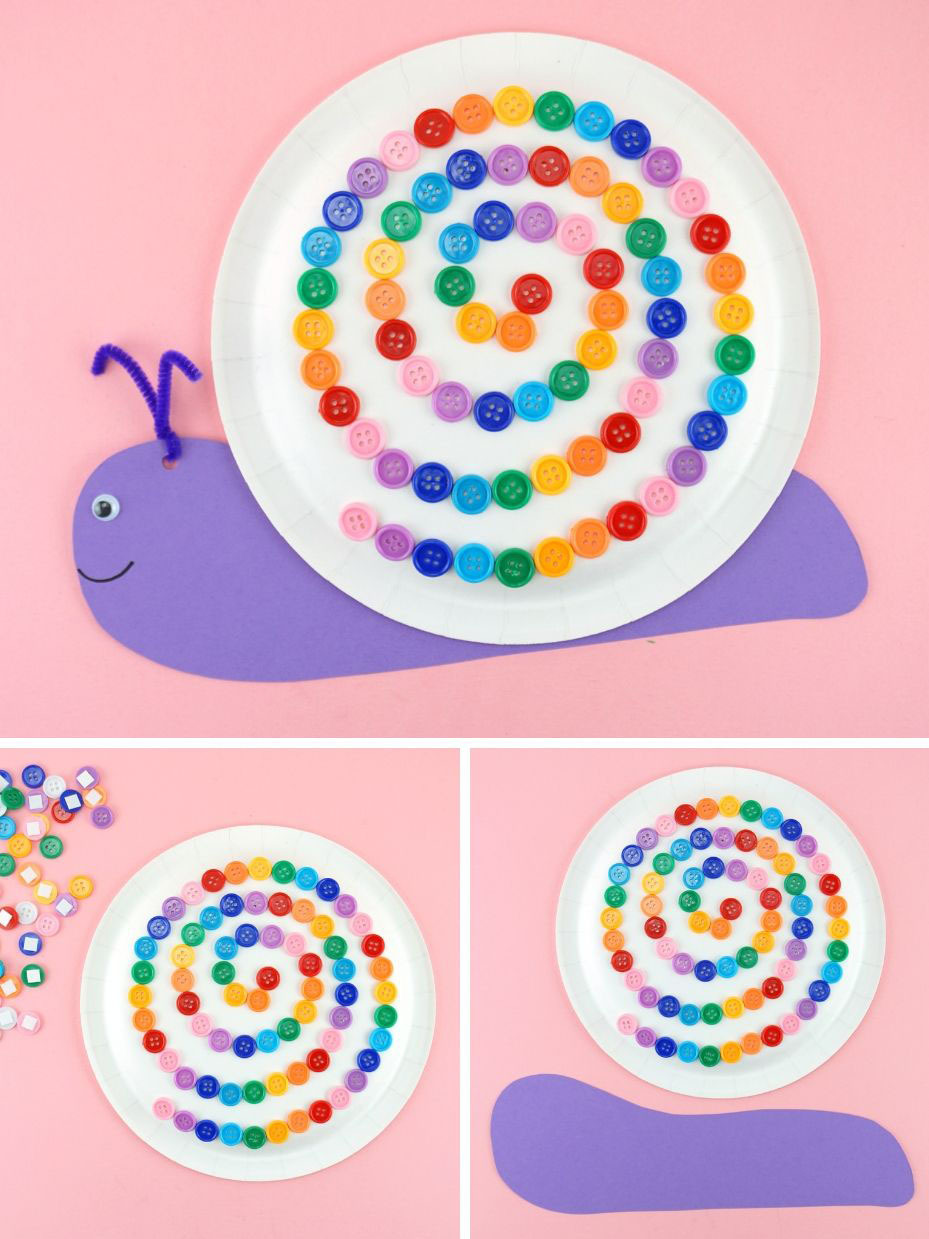
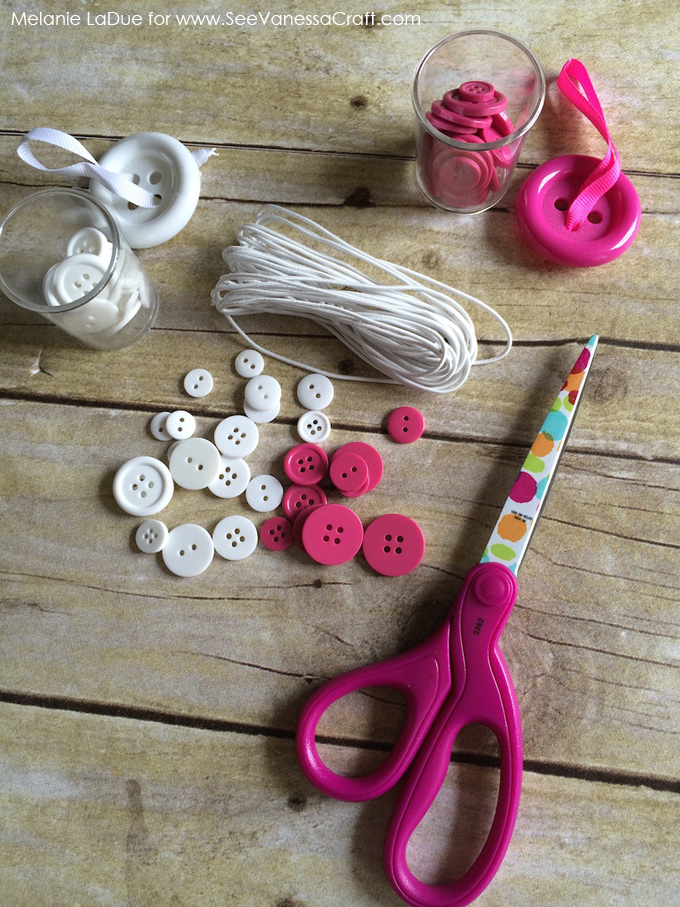
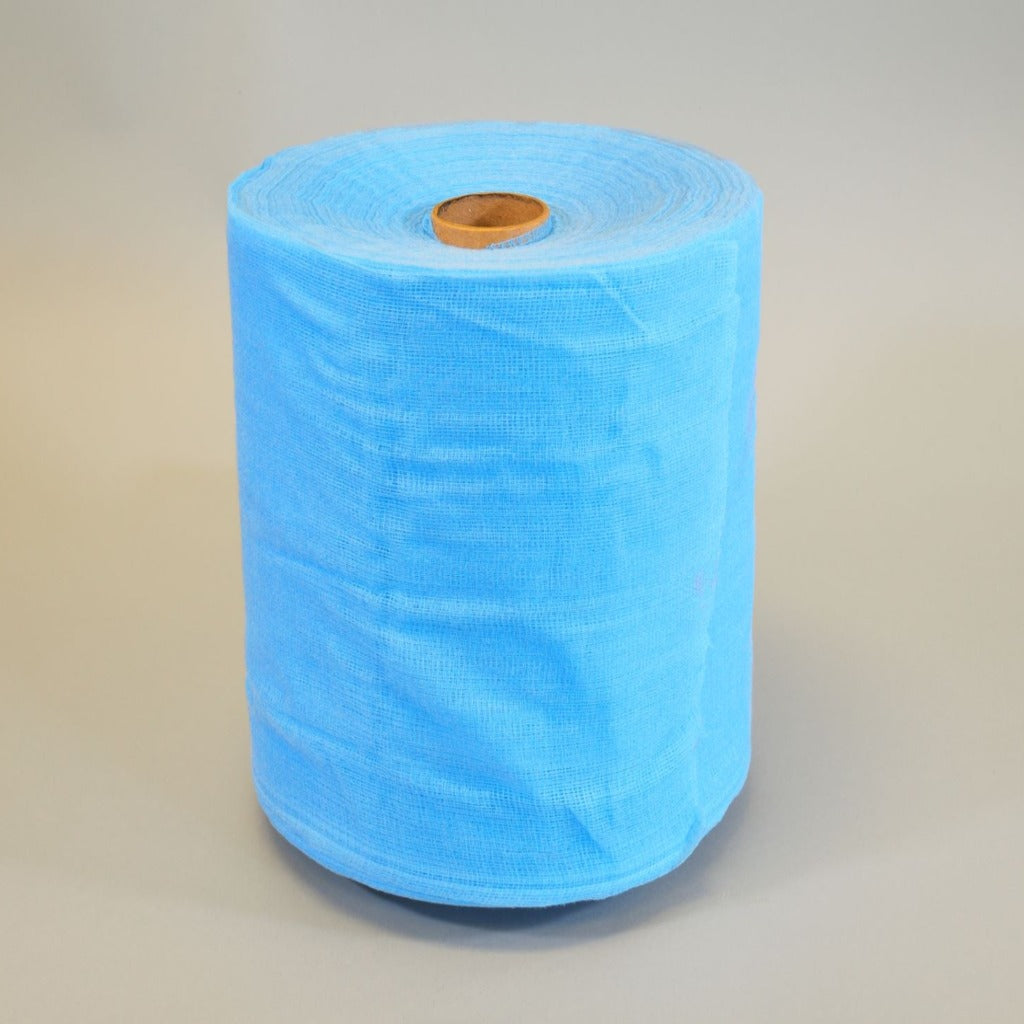
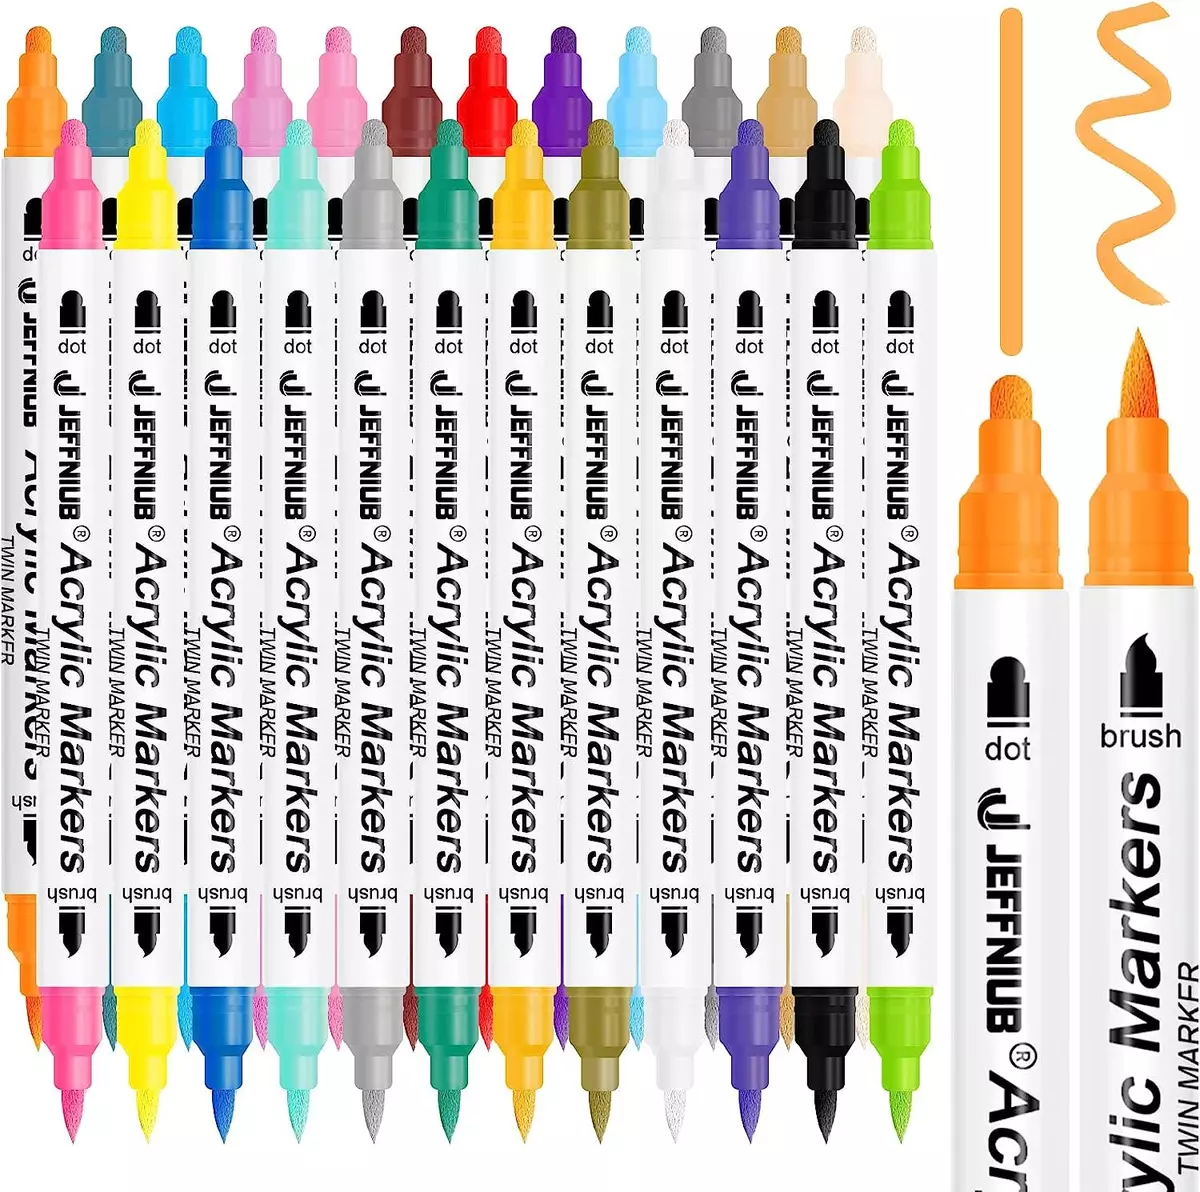
YOU WILL NEED: Cardstock or empty picture frame Orange buttons Orange marker Green construction paper Tacky glue STEPS: 1. Draw a pumpkin and color it in. This way if there are spaces between the buttons, they'll be orange. 2. Cover a portion of the pumpkin in glue. 3. Attach buttons, starting with the larger buttons and filling in with smaller buttons. Repeat with other sections until entire pumpkin is covered. 4. Add a second layer of buttons. With the second layer, it works best to put the glue on the back of the button and then place it where desired. 5.
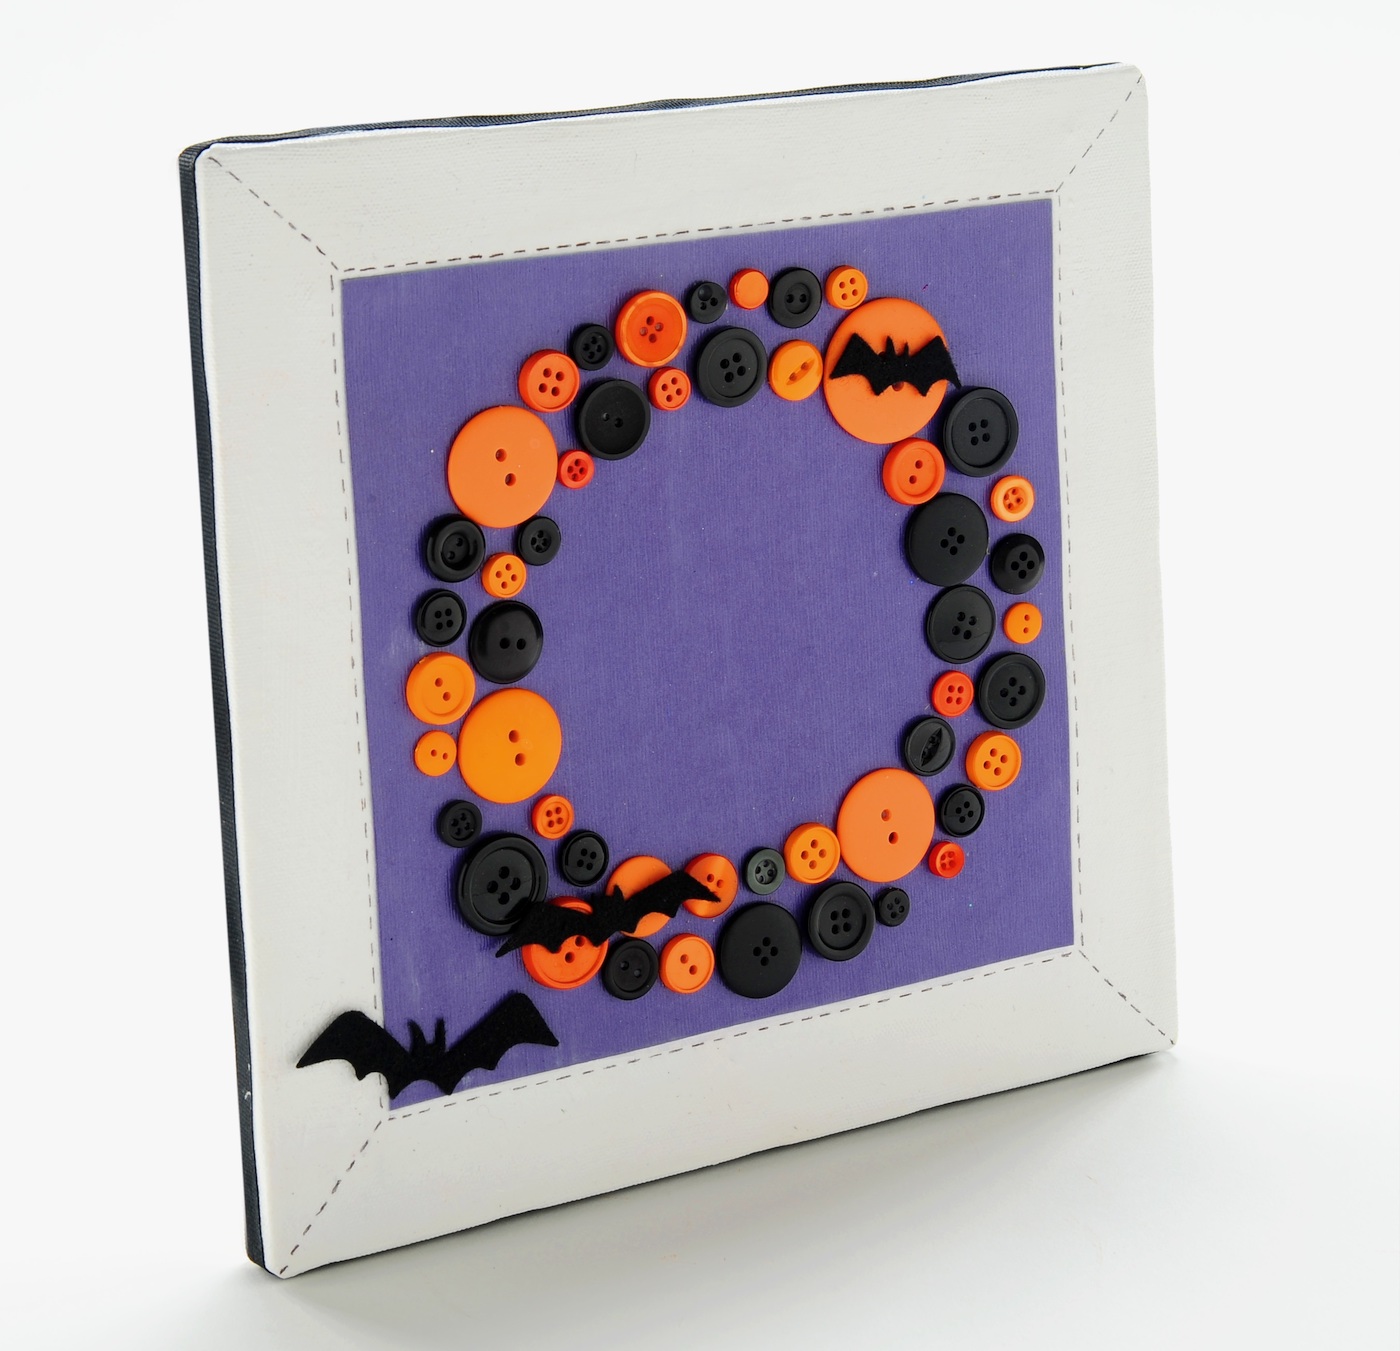
Halloween Button Art That's Easy to Make! - Mod Podge Rocks
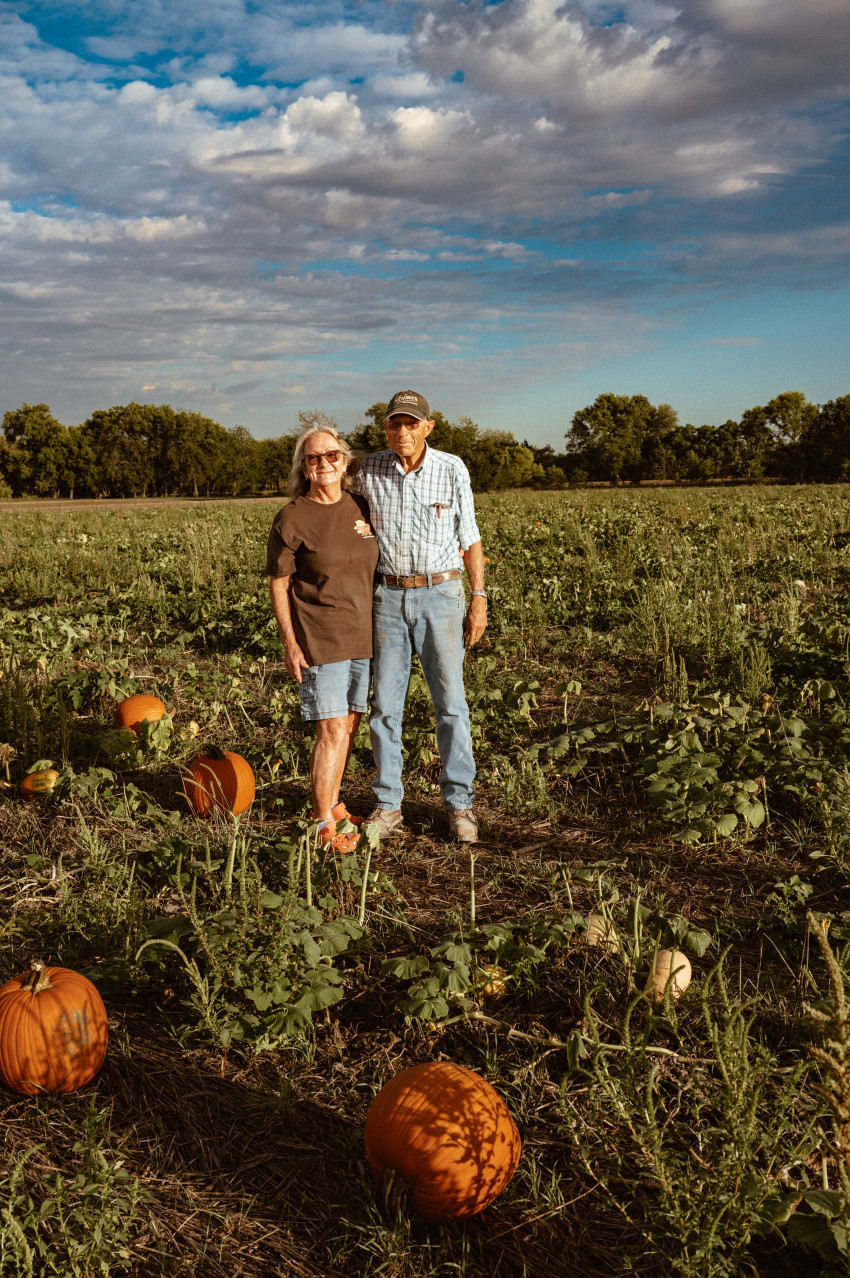
Pumpkins and Persistence Pays off at Walters' Pumpkin Patch in
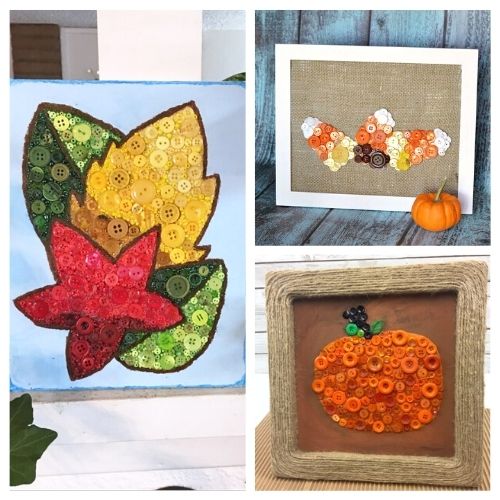
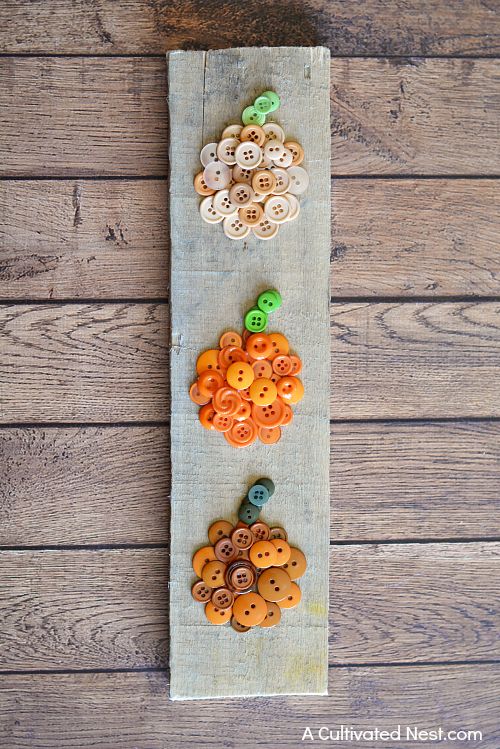
16 Fun Fall Button Crafts For Kids- A Cultivated Nest
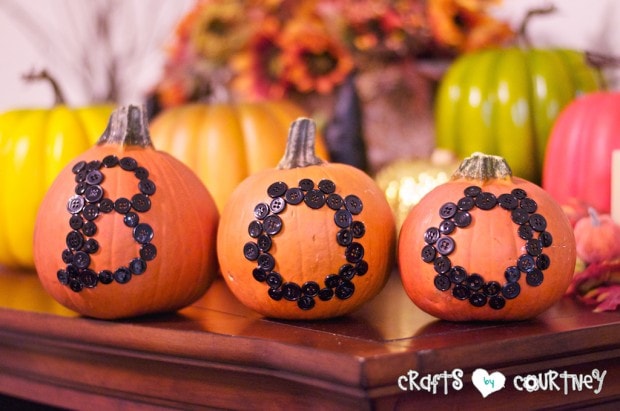
Halloween BOO Button Pumpkin Decor
Kid's Craft - Button Pumpkin
Easy Ombre Pumpkin Button Craft- Cute DIY Fall Decor!

50/100 Pcs Wooden buttons Mixed Pumpkin Hat Owl Bats 2 Hole Sewing Craft Button for DIY Clothing Accessories Scrapbooking WB468
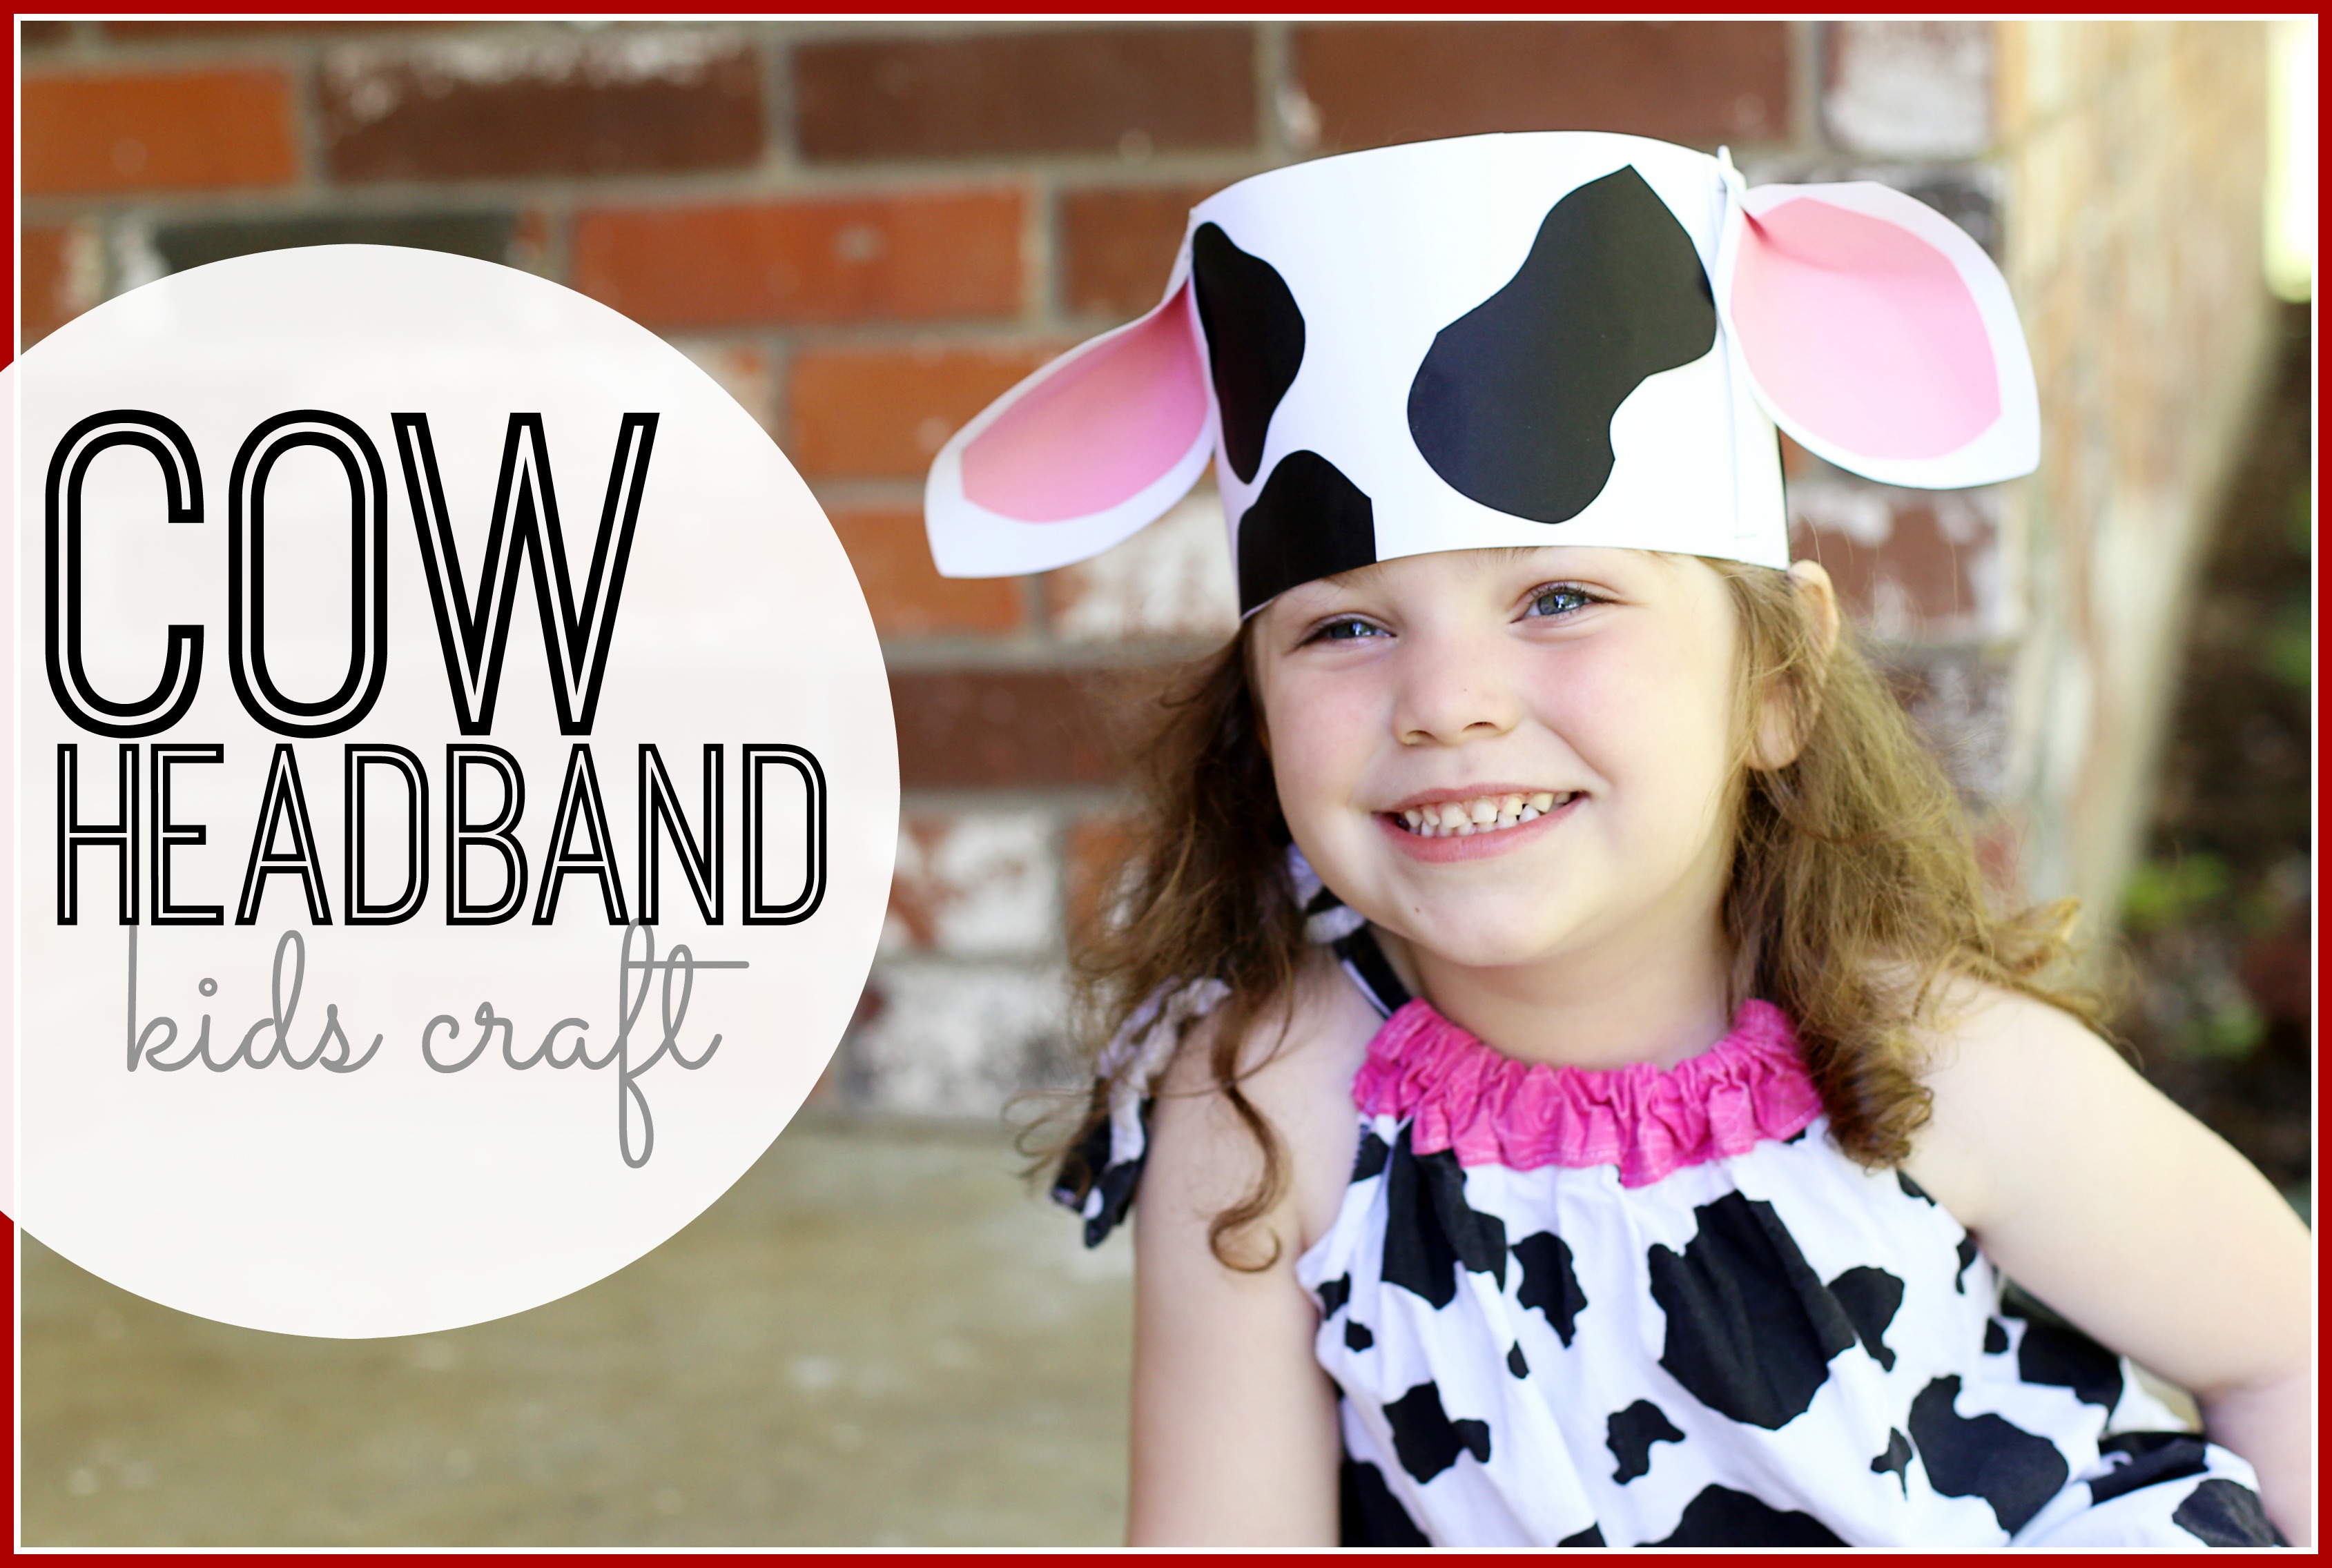
Kids Craft: Cow Headband
Button Pumpkin Template

Easy Pumpkin Crafts for Kids to Make - The Activity Mom
Kids Corner Kansas Living Magazine